Another beautiful day in paradise - and we've been busy working on the Shasta! We've done a lot of little things, mostly. Here's an update:
 |
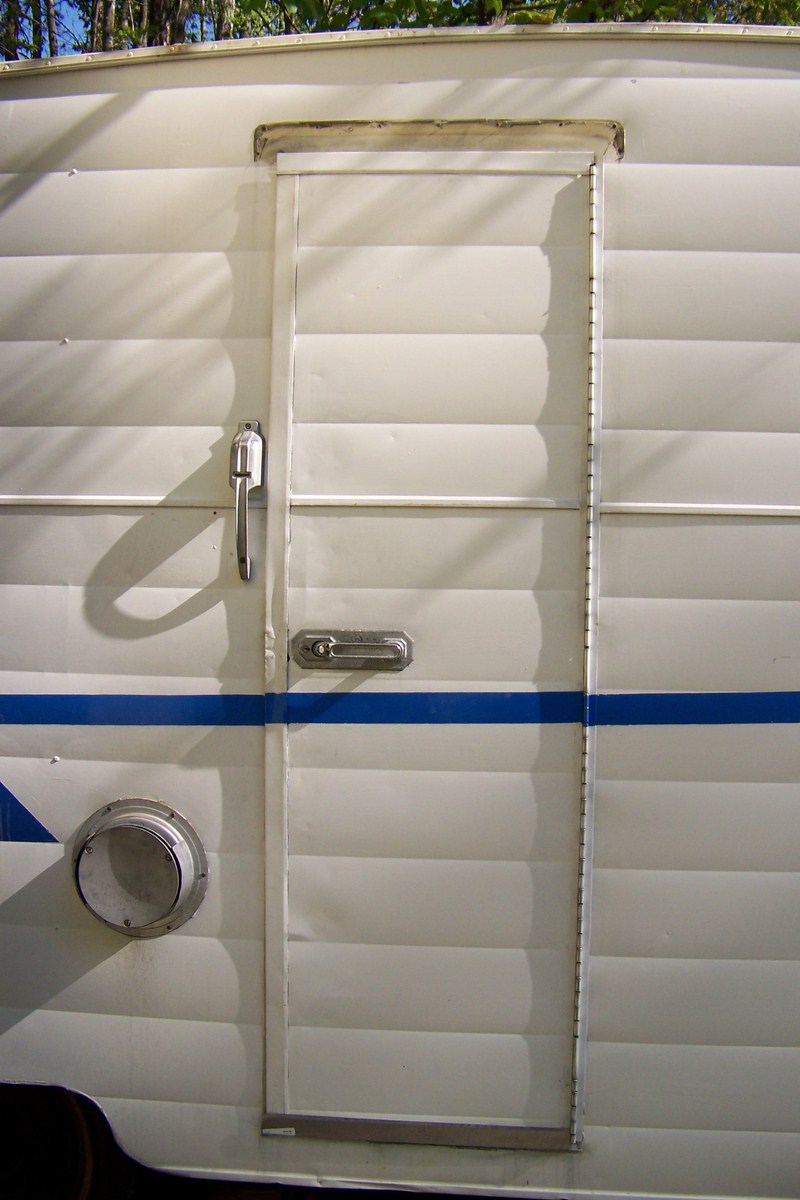
| The door is back! It was removed to do the flooring, so that the bottom sill would sit over the replaced plywood, subfloor and new flooring. Hubby had to cut down the side jamb pieces, by about 3/8 inch. |
 |
| While the door was off, we realized that the entire bottom piece was MISSING. There was no exterior drip edge, which fits onto the bottom of the door. So, handy hubby to the rescue once again! He made the kick plate at the bottom, then bent it to fit the bottom edge of the door, and made a drip edge on the exterior. Still needs paint on the outside, but it looks good!! It will keep the water from dripping off the bottom of the door and destroying the floor again. |
 |
| Ta da!! New floor!! We removed 2 layers of vinyl tiles that had been put over the asbestos-laden 9x9 original tiles (we used a heat gun and lots of TIME to slowly lift the vinyl tiles without disturbing the original layer). Then, we put down a lauan subfloor to cover the asbestos and any cracks. The new tiles were laid over this subfloor. I am not sure if I'm happy with my choice or not, as some of the tiles aren't adhering as well as they should. However, they're inexpensive tiles, were easy to cut and install, and they really brighten everything up. They're fine for now, but I think we may take these up and put down VCT after all - after we've had some rest!! |
 |
| A view of the front! The seat boxes have turned out beautifully! Each seat has a lid that lifts up to access the storage below. We'll keep bedding in the bench boxes - one side for the kids, and one side for us. There will be a decorative end cap put on the bench by the door. The other bench will be closed off by the kitchen cabinet that will sit next to it for the refrigerator. I'm waiting on the foam to arrive so I can make the cushions now!! |
 |
| A shot of the interior at the rear. New panel from the window down to the floor, and a new potty closet. Hubby rebuilt the small night table/book shelf, and the box for the long pole tunnel. Both of these pieces will have a laminate top added once the kitchen is completed. We removed the piece of 1/8" birch paneling from the gaucho base so we would have some of the original birch to patch pieces of the paneling. The gaucho will have a new piece of lauan cut to fit. |
 |
| The FABULOUS new POTTY CLOSET!!!!! Seriously, this is the reason we bought this camper, ok? Hubby expanded the closet by about 5" toward the front of the camper, using some of the space that had been the countertop. This made the closet just big enough for all of us to be able to use it if needed. He made a platform for the portapot to sit on, making it a more comfortable height, and also hinged it so we can store extra TP underneath. The long pole storage tunnel links up to this platform, so the pole storage runs the entire length of the back of the trailer. We may not need the entire length for our awning poles, but we have if it we need it for the bunk poles. |
 |
You can sort of see the inside of the closet wall in this photo. The frame was stripped, then reshellacked and screwed back in about 5" forward of where it was previously. The inside of the closet was also shellacked and then a new panel was placed at the very top, to cover up the damage from the vent pipe. Hubby used a piece of 1/8" birch cut from a panel taken from the gaucho platform and adhered it to the inside of the potty closet "ceiling."
|
Other things have been completed as well, including removing the old vent stack from the roof, and resealing the hole. Still needs a bit of paint, but it looks great and is water tight now. There are also small holes in the skin around the windows that need to be filled with aluminum filler (bondo), and repainted. For now, we'll do a patch-up paint job with a rattle can. Eventually, the house paint will need to be stripped, and we'll repaint the whole trailer, removing and cleaning the rest of the windows in the process.
The back end is being battened up once again as well. Lots of problems on that one, though. After removing the skin, the boards spanning the width were also removed, and the back end spread apart slightly while they were off - about a half inch. That was just enough to throw the whole thing off when trying to get the skin back on. Lots of cussing and pushing, and I think we may have it back on in a day or two of good weather. The edges have been shaved down a bit, and we'll make it work, then reinstall the rear window, which is still being repaired. It will look a bit odd until we have new paint over it.
Aside from that, all that we really need to finish before we can take her camping is the kitchenette, the table, the cushions, curtains and put on new rubber. Still need to cut the dinette windows, too. There are a bazillion little odds and ends, such as painting the lights (the gold/brass color of the fixtures is coming off in places and just plain filthy), repaint the door handles, paint the tongue and bumper, strip the wings, remove the rock guard and find something more appropriate, oh - and update the electrical! We have the parts and pieces, once hubby finishes the cabinetry for the kitchenette, he'll update the service to 30amp and install a separate circuit for running small appliances in the kitchenette.
I received the Indemnity Bond - FINALLY. I figured going through a local agent would be more expedient and less likely to have a problem, but I was wrong. The first bond that was issued didn't even have the vehicle listed! It took almost a month to get a bond locally that an online service would have completed and sent to me overnight. Lesson learned! I also discovered that I could take the trailer TO the DMV to have it inspected by an agent to ensure the VIN matched for the title documentation. Once the back end is buttoned up, we'll take it to the DMV and get that done.
But, we're getting there! That's half the fun, right??